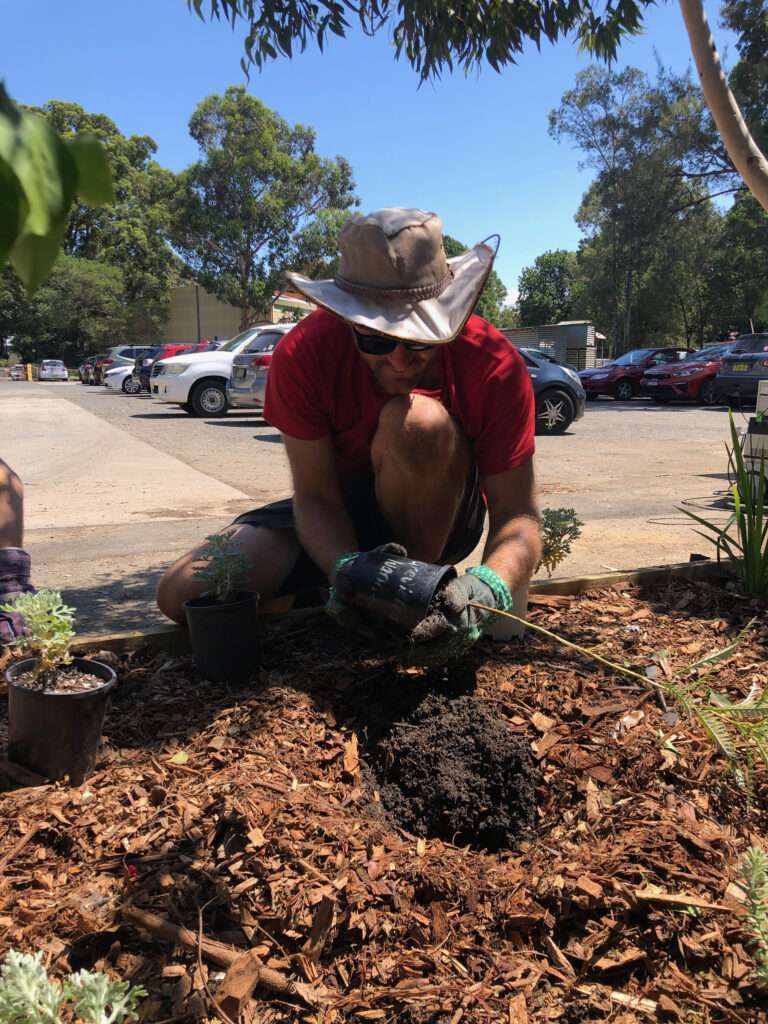
Decomposed granite (DG) is a versatile, affordable, and eco-friendly paving solution that brings a natural aesthetic to outdoor spaces. Whether you’re designing a pathway, patio, or driveway, DG provides excellent permeability while maintaining durability. Additionally, Tierra Projects offers a unique lime stabilisation technique, which enhances surface stability while allowing water to filter through, preventing runoff and improving sustainability.
Benefits of Decomposed Granite Paving
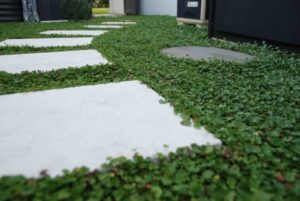
- Natural Aesthetic: Blends seamlessly with gardens and landscapes.
- Permeability: Allows water to drain, reducing erosion and runoff.
- Affordability: A cost-effective alternative to other paving options.
- Eco-Friendly Option: When stabilised with hydrated lime, DG paving remains porous yet stable, reducing environmental impact.
What is Decomposed Granite?
Decomposed granite is the result of time and weather eroding away granite rocks and breaking them down into fine particles ranging from gravels down to fines. This variation of particle sizes makes it suitable for compaction. It is commonly used in landscaping as pathways due to its natural appearance, permeability, and ease of installation. DG comes in various shades, typically ranging from yellow/golden to reddish-brown. Most DG supplied in Sydney is mined from the Southern tablelands and greater Goulburn area, making it a relatively local and therefore sustainable paving material.
Stabilised vs unstabilised
Decomposed granite can be laid as it comes from the landscape supply store or can be stabilised with off white cement, hydrated lime or a polymer product.
If installed properly unstabilised DG can be long lasting, durable and is the most porous out of all the options but is generally more susceptible to erosion. It is only advised to be used on lightly trafficked areas with minimal slope.
We generally do not condone the use of cement stabilisation. Although it may seem like a good durable option, cement stabilisation greatly reduces the porosity of the DG. After compaction it will initially set hard but as the surface gets worn the Decomposed Granite will crack and erode away and will not be easy to recompact due to the cement binding up the fine clay particles present in the DG. Our preferred stabiliser is Hydrated lime as it retains porosity, is more flexible than cement stabilisation and therefore is easily patched/repaired. Hydrated lime also has the ability to self heal small cracks that form over time.
Materials & Tools Needed
To install a DG path or patio, you will need:
- Decomposed granite
- Stabiliser of choice
- Road base (for the base layer)
- Edging materials (metal, wood, or stone)
- Tamper or plate compactor
- Rake and shovel
Step-by-Step Installation Process
Site Preparation
- Mark the desired area and remove any grass, debris, or existing materials.
- Dig down to desired depth (100-150mm below finished height for pathways and at least 200mm below fished height for driveways), If building up off existing sub soil it is advisable to remove as much topsoil as possible.
Adding a Base Layer
- Spread out your road base in 50mm layers.
- Hose the road base down until damp but not too wet that it sticks to your tamper or plate when compacting.
- Compact the base using a tamper or plate compactor.
- Repeat process until at desired height (do 2x 50mm compactions for 100mm base or 3x 50mm compactions for 150mm base)
- Tip: If the existing sub soil layer is not already compacted down or feels loose from excavation you can lay a thin layer of road base first and compact the existing sub soil before starting this process.
Spreading & Compacting DG
- Evenly spread the decomposed granite in a 50mm layer, raking then screeding to distribute evenly.
- Lightly mist with water to aid compaction, it is very important to get the right amount of water at this stage. Too much water will bring too many fines to the surface causing it to close over, not be permeable and therefore susceptible to waterlogging. Too little water and you will not get adequate compaction.
- Compact the surface with the hand tamper or plate compactor.For added stability and drainage benefits, mix lime stabiliser into the DG before compacting.
Sealing & Finishing Touches
- Apply a final misting of water to set the surface.
- Allow the area to set for 24-48 hours before use.
Maintenance Tips for Longevity
- Recompact areas that experience high foot traffic.
- Apply patch repairs of fresh material on any eroded areas every few years to maintain appearance.
- Sweep away debris or regularly blow with a leaf blower to prevent clogging and erosion.
Conclusion: A Sustainable, Durable Paving Choice
Installing DG paving is a cost-effective, sustainable way to enhance your outdoor space. When paired with Tierra Projects’ lime stabilisation technique, your paving remains porous yet strong, supporting healthy drainage and long-term durability.
Looking to upgrade your landscape with decomposed granite paving? Contact Tierra Projects today for expert guidance and premium materials tailored to your needs! Get a Quote!